
Press on nail sample development turns a buyer's design direction into a physical product reference that can be reviewed before bulk production. A project may begin with a reference image, original artwork, a physical sample, or a design brief, but those materials alone do not define every production detail.
For custom development projects, sampling is typically used to confirm how the manufacturer interprets the design, whether the requested shape and length work with the decoration, how the colors and finishes appear on the actual nail, how sizes are arranged, whether the packaging fits, and what reference will control later production.
A clear sample process creates a shared reference between buyer and manufacturer. It also makes revisions, sample approval, packaging confirmation, and later production easier to manage.
A typical press on nail sample process moves through seven stages: prepare the project brief, review technical feasibility, confirm the written specification, develop the first physical sample, compare it with the agreed requirements, record revisions, and approve a final sample as the production reference. The number of sample rounds and the requirements at each stage depend on the design, materials, decoration, packaging, and project scope.
In This GuideExpand or collapse
- 1. What Buyers Should Prepare Before Sample Development
- 2. Design Review and Feasibility Confirmation
- 3. Confirm the Product Specification Before Making the First Sample
- 4. Developing the First Press On Nail Sample
- 5. How Buyers Should Review a Press On Nail Sample
- 6. Record Sample Revisions Clearly
- 7. When Packaging Should Be Developed During Sampling
- 8. How to Approve the Final Production Sample
- 9. Common Sample Development Mistakes
- 10. How AIERFEI Supports Custom Press On Nail Sample Development
- 11. What to Send Before Requesting a Custom Sample
- 12. Frequently Asked Questions
1. What Buyers Should Prepare Before Sample Development
The first sample depends heavily on the quality of the information supplied before development begins. A detailed brief reduces the number of decisions the manufacturer must interpret.
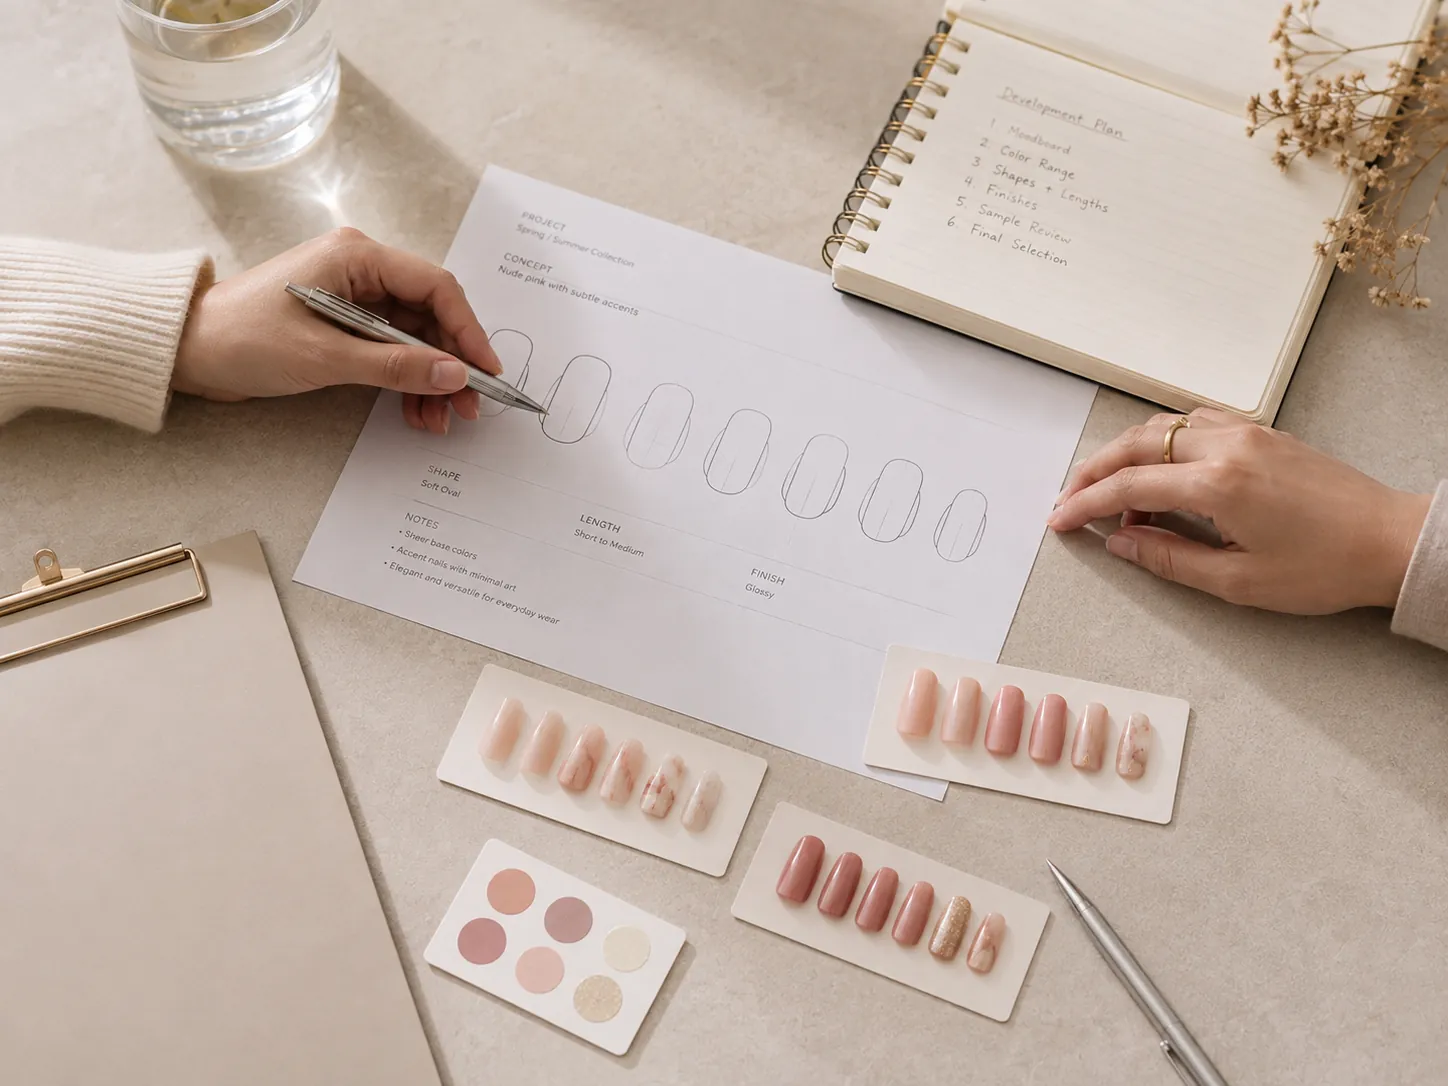
- Reference images or original artwork: Use clear images that show the design direction. When printing, logo work, or original artwork is involved, provide appropriate source files where available.
- Preferred nail shape: Almond, coffin, stiletto, square, round, and other shapes affect design proportions, available decoration space, and size-assortment requirements.
- Nail length: State the preferred length or provide an approved reference where the dimensions matter to the design.
- Colors or color references: Provide an agreed color reference, such as a Pantone reference or approved physical sample where appropriate, rather than relying only on how a color looks on a screen.
- Finish: Examples may include glossy, matte, cat-eye, gradient, shimmer, chrome, or a combination.
- Nail art or decoration: Identify printing, hand-painted details, rhinestones, charms, metallic elements, or 3D decorations and indicate where they should appear.
- Number of styles: State how many distinct designs are included in the project.
- Size assortment: Define the required sizes and quantity arrangement where known.
- Packaging requirements: Include the preferred box, tray, insert, label, accessory arrangement, and branding requirements.
- Logo or branding files: These may be required for private label packaging, labels, inserts, or other branded materials.
- Target market and sales channel: These can influence packaging, labeling, assortment, and product positioning.
- Estimated quantity: A preliminary estimate gives the manufacturer useful context when reviewing the project.
- Delivery destination: Include it where destination requirements affect packaging or shipping preparation.
Not every item needs to be finalized before the first conversation. What matters is distinguishing confirmed requirements from open decisions. Buyers who want to compare existing styles before defining a custom sample can first review our wholesale press on nails collection and use suitable product structures as a starting reference.
2. Design Review and Feasibility Confirmation
After receiving the project information, the manufacturer should review the design before physical sampling begins. This review may include identifying the production and decoration methods required, checking whether the requested shape and length are compatible with the design, reviewing decoration feasibility, checking packaging requirements, and identifying specifications that remain unclear. Buyers who are still evaluating supplier capability can also use our guide on how to choose a press on nails manufacturer before committing to sample development.
A reference image is useful for communicating direction, but it should not automatically be treated as a complete production specification. Lighting can change how a color appears in a photograph, camera angles can hide curvature or decoration height, and a design that looks simple on screen may involve several separate production steps.
Communicates Visual Direction
Shows the intended look, style, placement, or overall design direction.
Records Agreed Requirements
Defines the product details that buyer and manufacturer have confirmed.
Provides a Physical Reference
Acts as the physical visual and construction reference for later production.
3. Confirm the Product Specification Before Making the First Sample
Before producing a custom press on nail sample, the buyer and manufacturer should agree on a written specification appropriate to the project. The goal is not to create a decorative document. It is to create one current reference that both sides can use when the first sample is made and when later revisions are discussed.
| Specification Area | What Should Be Confirmed |
|---|---|
| Product shape and length | Nail shape, required length, and any approved dimensional reference. |
| Color and finish | Color reference, finish type, transparency, gradient, shimmer, cat-eye, chrome, or other specified effect. |
| Decoration | Decoration type, placement, scale, pattern, artwork, rhinestones, charms, printed elements, or 3D details. |
| Set structure | Size assortment and quantity of nails per set. |
| Packaging | Packaging format, tray, inserts, accessories, labels, logo placement, and barcode information where applicable. |
| Production files | Approved artwork files and the current written specification version. |
The important point is version control. Requirements often change during email, WhatsApp, meetings, or sample discussions. If one change remains in a chat message while another exists in an artwork file and a third exists in a spreadsheet, the factory may not know which instruction controls the next sample.
A practical solution is to maintain one current specification and identify its version clearly. When a change is confirmed, update the document so the buyer and manufacturer are working from the same information. If the project scope also involves OEM, ODM, or private label responsibilities, review the custom press on nails OEM and private label guide so product ownership, customization scope, packaging responsibilities, and approval references are defined before bulk production.
4. Developing the First Press On Nail Sample
Once the main specification is clear enough to proceed, the manufacturer can develop the first physical sample. Depending on the project, this stage may involve the following work:
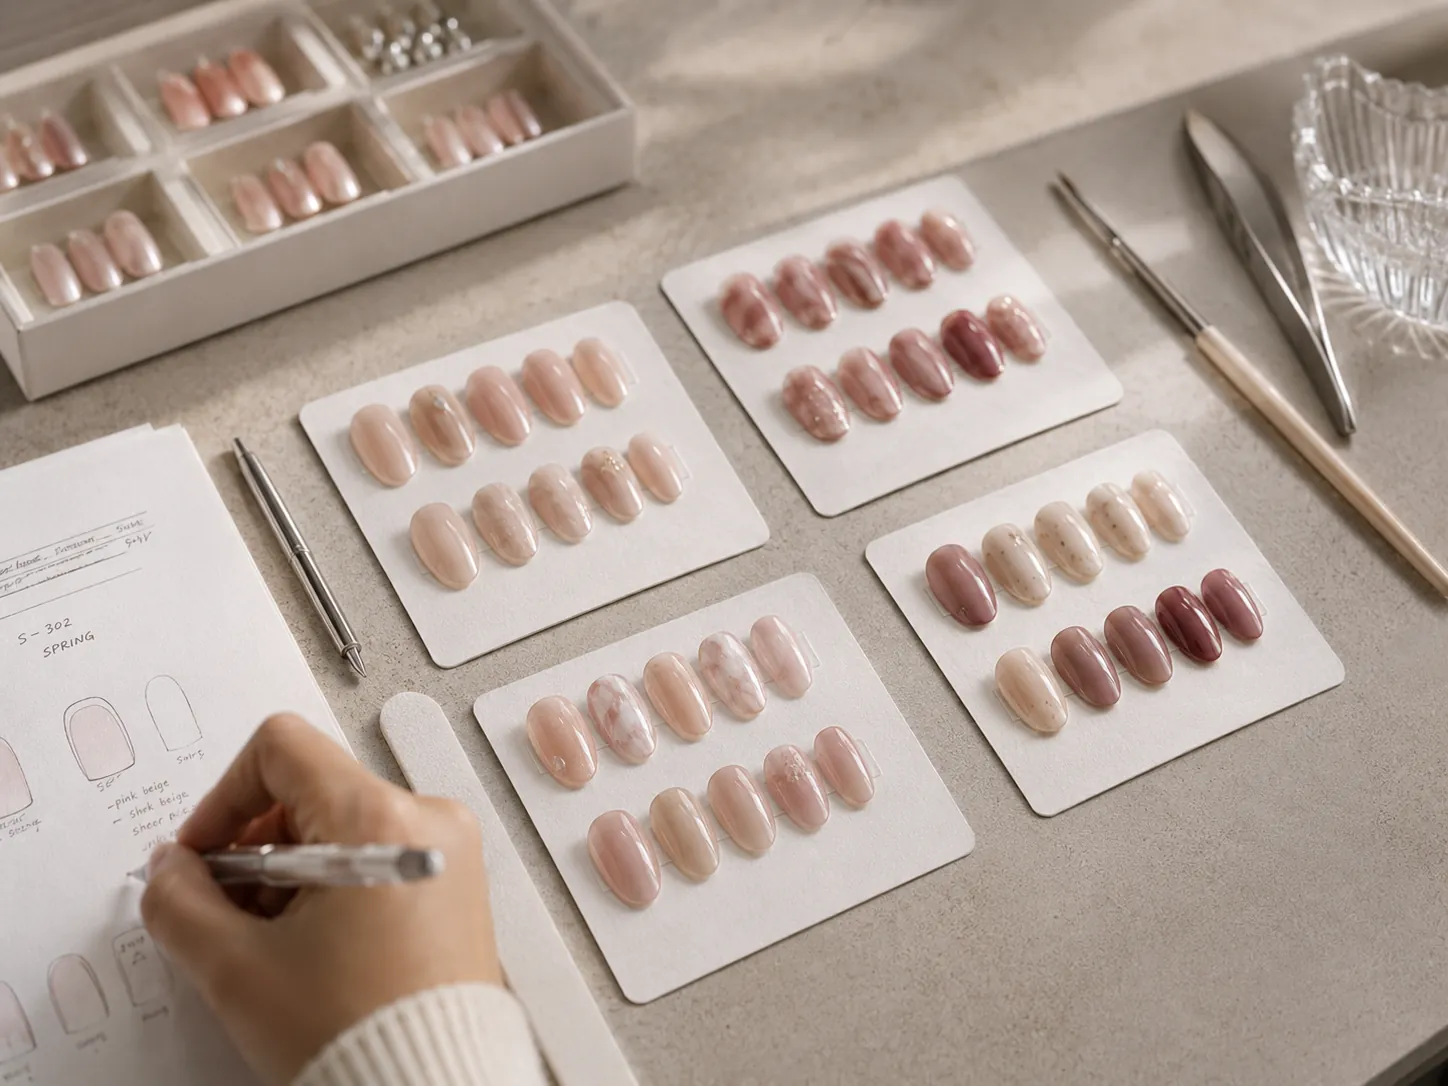
The first sample should be treated as an evaluation reference rather than automatically being considered production-ready. Its purpose is to convert the written specification and design reference into something that can be inspected physically.
5. How Buyers Should Review a Press On Nail Sample
A sample should be reviewed against the agreed specification, not only against a general impression. “It looks good” is not enough for sample approval.
| Review Item | What to Check |
|---|---|
| Shape accuracy | Does the product match the agreed shape? |
| Nail length | Is it consistent with the approved requirement? |
| Color matching | How does it compare with the agreed color reference under suitable lighting? |
| Surface finish | Is the gloss, matte, shimmer, or other finish consistent? |
| Gradient transition | Is the transition positioned and blended as expected? |
| French tip | Are the proportion, curve, and placement correct where applicable? |
| Decoration placement | Are printed or decorative elements positioned correctly? |
| Rhinestones / charms / 3D | Are they placed according to the approved design? |
| Artwork or printing | Check scale, placement, sharpness, and color. |
| Size assortment | Are the agreed sizes included? |
| Product count | Does the set contain the specified quantity? |
| Packaging fit | Do the nails and accessories fit the tray and box appropriately? |
| Logo position | Is branding placed according to the approved artwork? |
| Labels | Are the contents, layout, and placement correct? |
| Accessories | Are the agreed accessories included? |
“The design feels different.”
“The base color should be lighter while the decoration position remains unchanged.”
6. Record Sample Revisions Clearly
Revision control is one of the most important parts of the sample approval process. Avoid comments such as “make it more pink,” “make it more premium,” or “make it closer to the reference.” These descriptions leave too much room for interpretation.
Instead, identify the exact color area that needs adjustment, whether transparency or depth should change, which nail contains the issue, where the decoration should move, how the shape or length should change relative to the approved reference, or which packaging fit issue needs correction.
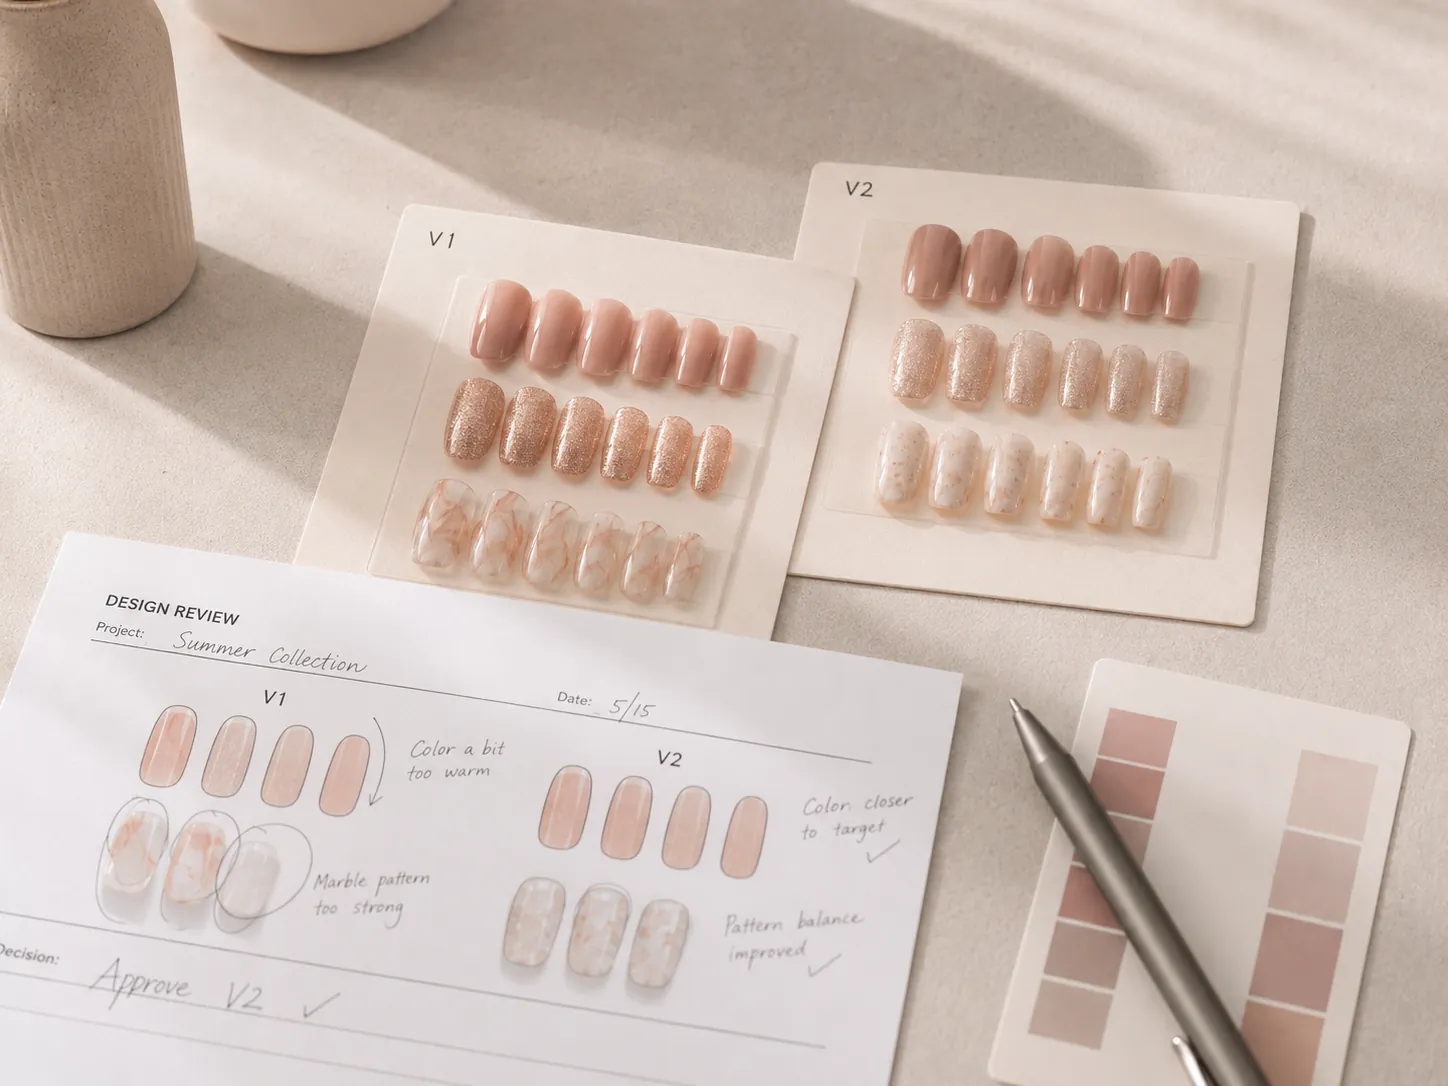
Use Sample Version Numbers
Identify the first sample, revised sample, and later versions clearly. The version name should appear in the revision record and, where practical, on the physical or photographic reference used during approval.
Maintain a Revision Record
Record what changed between versions and support comments with annotated images where useful. A revision record is especially helpful when several people from the buyer and manufacturer are involved in the project.
Separate Product and Packaging Revisions
Record nail-product changes separately from packaging changes so the team can see whether the product is approved even if the box, tray, insert, or label still requires adjustment.
Sample versions should not be mixed during approval. The final approved sample should be a clearly identifiable version tied to the current written specification.
7. When Packaging Should Be Developed During Sampling
Packaging does not always need to wait until the nail design is completely finished. In some projects, product and packaging development should overlap because the nail dimensions and set structure influence the final package.
- Custom box: confirm the intended box structure and how the product will be presented. Buyers developing branded boxes, trays, inserts, or accessory layouts can review AIERFEI's custom press on nail packaging options for additional project planning context.
- Custom tray: confirm fit, nail arrangement, and accessory placement.
- Printed inserts and labels: coordinate artwork, instructions, branding, and required information with the package dimensions.
- Logo placement and barcode information: confirm the final artwork location before printing.
- Accessories: determine where tabs, glue, files, sticks, or other included items will sit in the package.
- Protection for decorated or 3D nails: check whether the tray and box allow enough clearance for raised decoration.
If the packaging structure depends on the nail dimensions, developing it too late can require unnecessary changes. Materials, printing methods, packaging minimums, and development requirements vary by project and should be confirmed with the manufacturer rather than assumed.
8. How to Approve the Final Production Sample
Final sample approval is the transition from development to production planning. Before approval, confirm the current version of the product, packaging, artwork, and written specification.
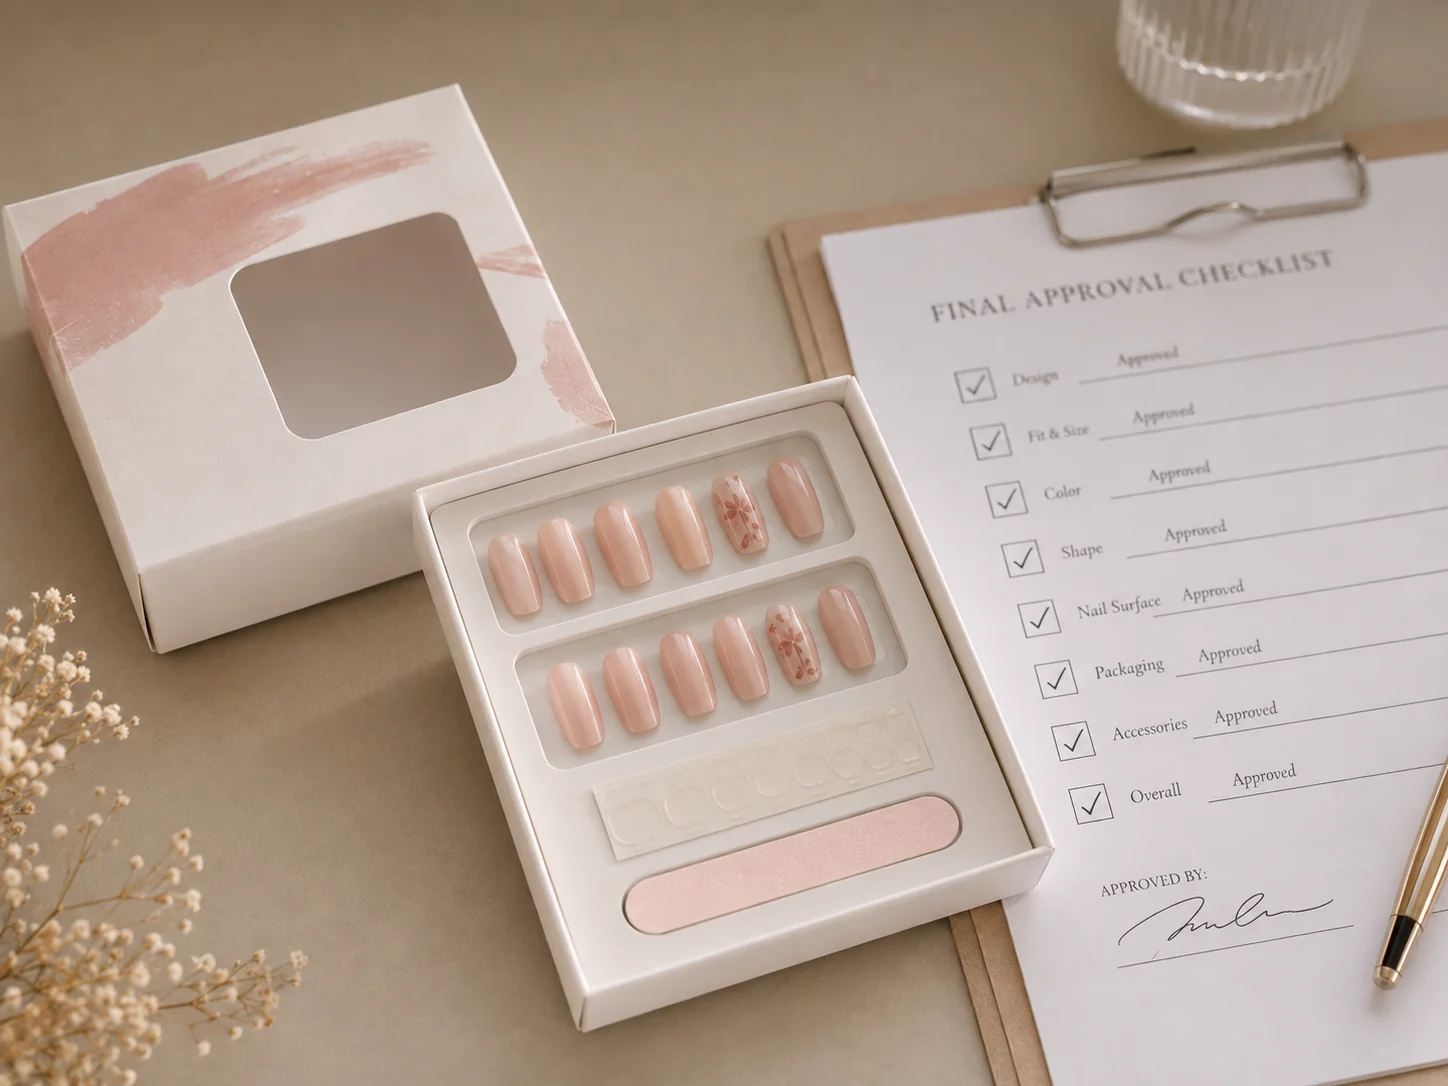
Use this checklist when signing off the production reference.
The physical approved sample and final written specification should then be retained as the production reference. Both sides should know which version controls the order.
Keeping a clear reference is especially useful for repeat orders because future production can begin from an already defined product standard rather than reconstructing earlier decisions from emails or images.
9. Common Sample Development Mistakes
Most of these problems come from the same two causes: unclear specifications and unclear version control. A disciplined approval record reduces both.
10. How AIERFEI Supports Custom Press On Nail Sample Development
AIERFEI works with beauty brands, wholesalers, distributors, importers, salon suppliers, and private label buyers on custom press on nail projects. Support is organized around the practical stages buyers normally need to confirm before bulk production. For buyers ready to move from sample planning into a complete project, our press on nails customization services are the main next step for reviewing design development, private label requirements, packaging, sampling, and production preparation.
Depending on the project scope, this may include project-information review, product-specification confirmation, custom press on nail design development, colors and finishes, nail art and decoration, physical sample development, revision review, private label packaging, labels and accessories, final production-reference confirmation, and bulk-production support.
Exact sampling requirements depend on the design, materials, decoration, packaging, quantity structure, and other project requirements.
11. What to Send Before Requesting a Custom Sample
A useful custom sample request normally includes the following information. If an item is still undecided, mark it clearly instead of leaving the manufacturer to guess.
| Information Area | What to Send |
|---|---|
| Design reference | Reference design or original artwork; logo files if applicable. |
| Product details | Preferred shape, preferred length, color or color reference, finish, nail art or decoration, and size assortment if defined. |
| Commercial context | Number of styles, estimated quantity, and target market. |
| Packaging and logistics | Packaging direction, required accessories, and delivery destination. |
Do not delay the inquiry simply because every detail is not final. Instead, mark open decisions clearly.
12. Frequently Asked Questions
How does press on nail sample development work?
Press on nail sample development normally starts with a reference design and project brief. The manufacturer reviews feasibility, the parties confirm the product specification, a first physical sample is developed, revisions are recorded, and the final approved sample becomes the reference for production. The exact workflow varies according to the product and packaging requirements.
What information should I send before requesting a custom press on nail sample?
Prepare reference images or artwork, preferred shape and length, color references, finish, decoration requirements, number of styles, size assortment where known, estimated quantity, packaging direction, logo files if applicable, target market, and delivery destination. Clearly identify any items that are still undecided.
Can a manufacturer copy a reference image exactly?
A reference image communicates the desired direction but does not guarantee exact reproduction. Materials, color references, shape, decoration methods, technical feasibility, consistency requirements, and intellectual-property considerations may affect what can be produced. The practical approach is to review feasibility and approve a physical sample before bulk production.
How many sample revisions are usually required?
There is no universal number. Revision requirements depend on design complexity, decoration, packaging, and how clearly the initial requirements were specified. The manufacturer should confirm the sampling and revision arrangement for the specific project.
Are there sample fees for custom press on nail samples?
Sample-fee arrangements depend on the project and the manufacturer's policy. Buyers should confirm any applicable sample charges, revision charges, shipping costs, and payment terms before sampling starts. Do not assume that sample charges will be refunded or credited toward a later bulk order unless that arrangement has been confirmed in writing.
Should packaging be developed at the same time as the nail sample?
It may be useful to develop them in parallel when box dimensions, tray design, accessory layout, or product protection depend on the nail dimensions and decoration. For simpler packaging projects, the sequence may be different. Confirm the most appropriate workflow with the manufacturer.
What should buyers check before approving a press on nail sample?
Compare the physical sample with the current written specification. Check shape, length, color, finish, decoration, size assortment, product count, packaging fit, logo position, labels, accessories, and any approved artwork. Only approve the clearly identified sample version that has been reviewed against the final requirements.
What happens after the final sample is approved?
The final approved sample and written specification become the production reference. The manufacturer can use them for production and quality review, while the buyer can retain the reference for receiving inspection and future repeat-order comparison.
Start Your Custom Press On Nail Sample Project
Prepare your reference design, preferred shape and length, color or finish, estimated quantity, number of styles, packaging direction, and target market. AIERFEI can review the available project information and identify which details are ready for sampling and which still need confirmation.